
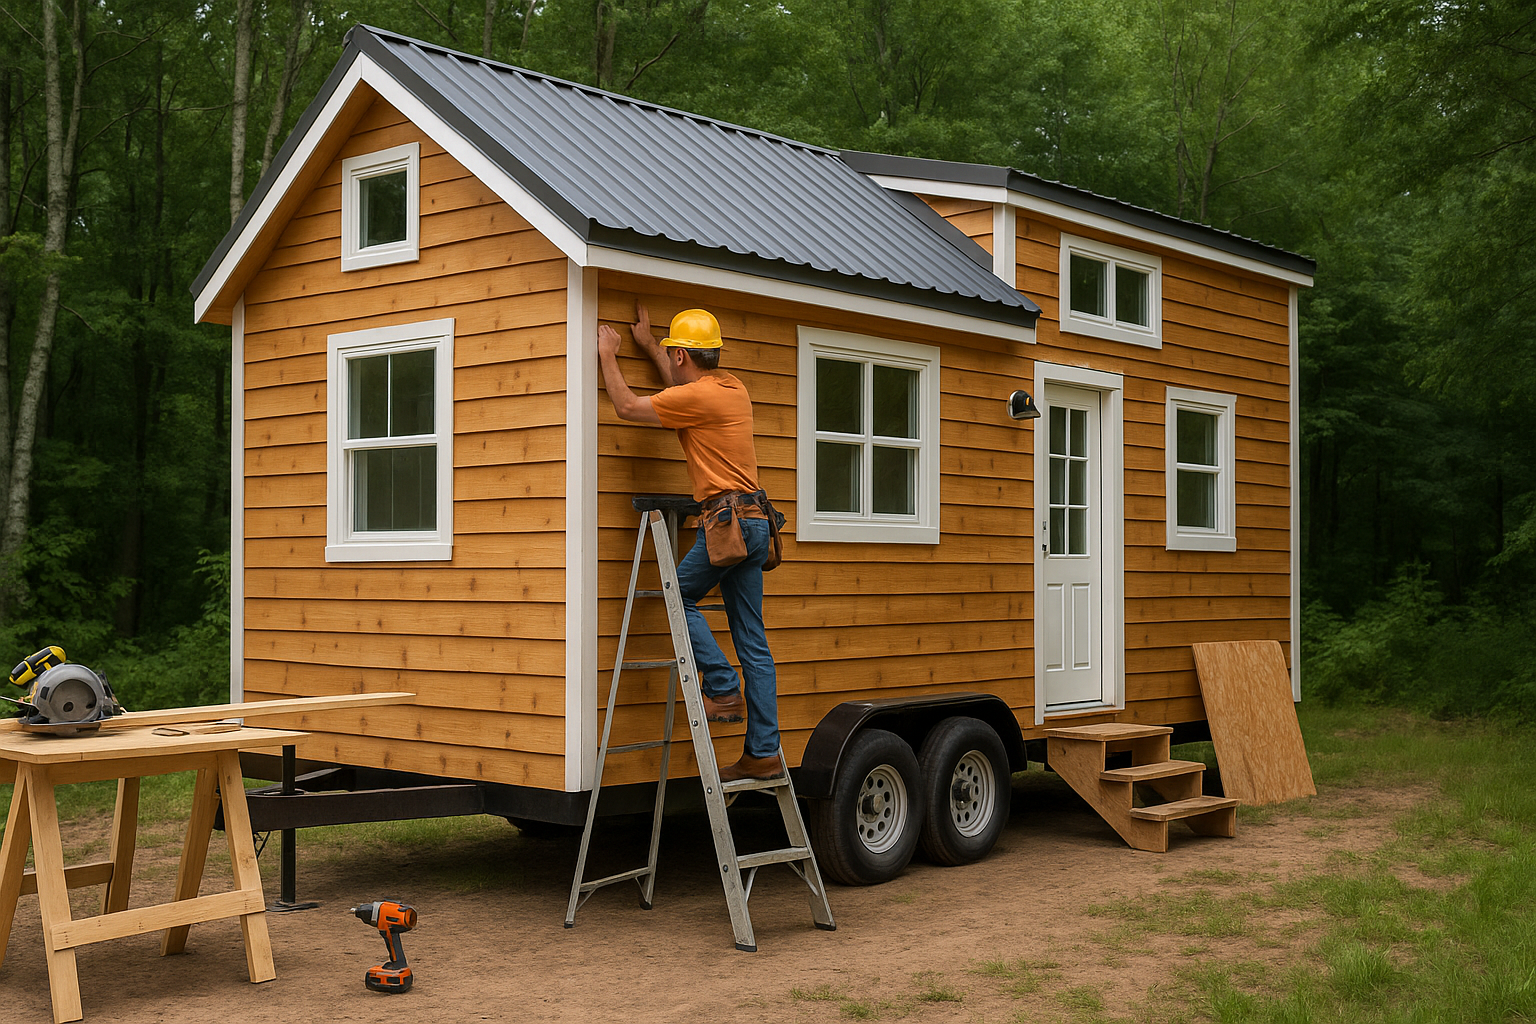
DIY Tiny Home Canada: Essential Finishing Construction Tips to Avoid Homebuilding Pitfalls
Estimated reading time: 8 minutes
Key Takeaways
- Plan meticulously: Proper project management and scheduling are key to avoiding insulation, electrical, and plumbing pitfalls.
- Quality materials: Using weatherproof, moisture-resistant supplies ensures your tiny home can withstand Canadian extremes.
- Code and permits: Always verify local building codes and permit guidelines to ensure compliance.
- Attention to details: From proper sealing to precise electrical installations, every detail matters for safe occupancy.
- Learn from experts: Real-life examples and detailed guides, like those on winter-proof techniques, can help you avoid common mistakes.
Table of contents
- Common Homebuilding Pitfalls in DIY Tiny Homes
- Finishing Construction Tips for DIY Tiny Home Canada
- How to Avoid Common Mistakes in the Tiny House Completion Stage
- Canadian Tiny Home Completion: Real-Life Examples
- Final Checklist for Smooth Tiny House Completion
- Conclusion
- Frequently Asked Questions
Common Homebuilding Pitfalls in DIY Tiny Homes: Avoiding Costly Mistakes
Understanding Homebuilding Pitfalls in Canada
When you’re working on your DIY tiny home in Canada, a “homebuilding pitfall” is any error or oversight that can delay completion, create safety hazards, or reduce comfort. These mistakes can turn a rewarding project into a source of stress and unexpected costs.
Insulation Setbacks: A Major Canadian Concern
Canada’s brutal winters demand flawless insulation:
- Heat loss and soaring power bills
- Condensation and unwanted moisture build-up
- Issues with passing final inspections
Many DIYers use the wrong materials or forget to seal gaps properly. Refer to detailed strategies on winter-proof tiny home construction for essential guidelines.
Electrical and Plumbing Errors
Common issues include:
- Incorrect wire gauges or faulty connections
- Missed pipe joints and lack of freeze protection
- Code violations that could lead to expensive repairs
For more details, check the utility connections guide.
Permitting and Compliance Delays
Skipping necessary permits or assuming one-size-fits-all standards can cause major setbacks. For detailed local guidelines, see Ontario permit guides and Canadian ADU regulations.
Finishing Construction Tips for DIY Tiny Home Canada
Flooring Installation Best Practices
For moisture protection and durability, consider these tips:
- Choose resilient flooring: Opt for moisture-resistant materials like vinyl plank or engineered hardwood.
- Prep the subfloors: Ensure a level and insulated surface with a vapour barrier to prevent condensation.
- Account for humidity: Use proper underlay techniques to allow for floor expansion.
Read more about small space flooring techniques on Tiny Home Living Guide.
Proper Sealing and Insulation for Canadian Conditions
- Pick high R-value materials: Closed-cell spray foam or rigid foam boards offer superior thermal protection.
- Meticulous sealing: Seal every joint, window, and door using weather-resistant caulking.
- Ensure continuous vapour barriers: Overlap seams and tape for a complete moisture shield.
- Check surfaces: Avoid insulating over damp areas to prevent mould and rot.
For an in-depth look, refer to the insights on winter-proofing your tiny home.
Efficient Electrical and Plumbing Hookups
- Follow code explicitly: Adhere to the Canadian Electrical Code and National Plumbing Code.
- Hire a licensed pro: A professional check can save you costly reworks later.
- Use PEX piping: It is freeze-resistant and ideal for compact spaces.
- Label everything: This eases future repairs without unnecessary damage.
Additional details are available at utility connections for Canadian ADUs.
Interior Finishes to Maximize Small Space
- Choose light colours: Whites, soft greys, and natural wood finishes enhance space.
- Opt for multifunctional furnishings: Built-in storage solutions like Murphy beds make the most of every square metre.
- Maximize vertical space: Use wall-mounted shelves and cabinets that extend to the ceiling.
- Prioritize local and healthy materials: Low-VOC finishes and Canadian-sourced products reduce environmental impact.
For more ideas, visit Tiny Home Living Guide and explore minimalist solutions on Minimalist Living Canada Guide.
Recommended Materials and Tools for Canadian Tiny Home Finishes
Having the right tools is essential. Keep these items handy:
- Weather-rated insulation and vapour barriers
- Moisture-resistant flooring supplies
- Compact, high-efficiency fixtures and appliances
- Quality caulking and exterior sealants
- Oscillating multi-tool, cordless drill, and heavy-duty insulation knife
- Proper safety equipment like masks, goggles, and gloves
More insights on essential tools can be found at Tools & Tips for Tiny Home Building.
How to Avoid Common Mistakes in the Tiny House Completion Stage
Careful Planning and Scheduling
Break down your final construction into detailed phases. Use visual tracking boards or project management apps to:
- Plan phases such as flooring, insulation, electrical, etc.
- Include time buffers for unexpected delays
- Schedule professional checks before moving to the next step
This careful planning minimizes stress and avoids cost overruns. More tips can be found on project management for DIY builds.
Permits and Code Compliance: Don’t Skip the Details
Before sealing walls or finalizing finishes:
- Review your municipality’s current zoning and permit requirements
- Ensure compliance with the National Building Code of Canada
- Prepare for inspectors by double-checking details like insulation depth and safety equipment
For comprehensive guidance, refer again to Ontario permit guides and Canadian ADU regulations.
Budget and Quality Control for Finishing Construction
Maintain a contingency fund of 10-20% for unplanned issues and document all receipts and permits. Quality control in insulation, sealing, and wiring will save you from expensive delays.
Inspection and Quality Assurance: The Final Gate
- Conduct thorough tests for water, heat, and power systems
- Use tools like moisture meters and outlet testers
- Document all inspections and corrections for future reference
These steps ensure that your tiny home is safe and comfortable before move-in. Detailed quality tips are available at Inspection & Quality Assurance Tips.
Canadian Tiny Home Completion: Real-Life Examples
Ontario Builder: A Costly Insulation Oversight
A DIY builder in Ontario rushed insulation, leading to subpar R-values, expensive wall removal, and a three-month delay. The lesson? Always review local codes and get pre-inspection walkthroughs. More details can be found at tiny house laws in Canada.
British Columbia Couple: Finishing Strong with Planning and Compliance
A couple near Victoria succeeded by:
- Breaking their project into frequent checkpoints with code reviews
- Selecting locally sourced, weather-adapted finishes
- Maintaining detailed documentation for smooth municipal approval
This proactive strategy resulted in a move-in before winter set in. For more success stories, visit Canadian ADU Success Stories.
Final Checklist for Smooth Tiny House Completion in Canada
-
Insulation and Vapour Barriers
- Confirm correct type and depth of insulation (see winter-proof guide).
- Check vapour barrier seams across floors, walls, and ceilings.
-
Electrical and Plumbing
- Inspect for leaks, use proper pipe insulation, and test all fixtures.
- Ensure all installations match permit drawings and codes.
-
Inspections and Approvals
- Book all required inspections (bylaw, fire, occupancy, electrical/plumbing).
- Keep records of all inspection reports in one place.
-
Flooring and Interior Finishing
- Lay moisture-resistant flooring and finish all trims neatly.
-
Weather Sealing
- Caulk all gaps and install weather stripping to prevent air and water leaks.
-
Systems Test
- Test heating, hot water, power, and appliances for proper operation.
-
Documentation
- Organize receipts, warranties, permits, and inspection reports with digital backups.
Conclusion
Building a DIY tiny home in Canada is a huge achievement. With a detailed, step-by-step approach in the final stages—from insulation and sealing to electrical and finishing touches—you can avoid costly pitfalls and ensure a safe, comfortable space. By learning from real-life examples and expert guides, you’ll be well-equipped to meet local codes and create a truly cozy and sustainable home. Share your experiences and insights, and join the community in making the Canadian tiny home dream a reality.
Frequently Asked Questions
Q1: What permits do I need for building a tiny home in Canada?
A: Permit requirements differ by province and municipality. It’s essential to check the latest guidelines, such as those provided in the Ontario permit guide.
Q2: How do I ensure my insulation is sufficient for Canadian winters?
A: Use high R-value materials like closed-cell spray foam and meticulously seal every joint. Detailed methods are shared on the winter-proof tiny home resource.
Q3: Can I do the electrical and plumbing work myself?
A: While DIY is possible, it is crucial to follow the Canadian Electrical and National Plumbing Codes closely. Hiring a licensed professional for final checks is highly recommended.
Q4: What are some tips for maximizing space in a tiny home?
A: Use light colours, multifunctional furnishings, and vertical storage solutions. More space optimization ideas can be found on the Tiny Home Living Guide.
Q5: How can I keep my build on schedule?
A: Break down the project into phases, set time buffers for unexpected issues, and maintain thorough documentation. Effective planning tools are available on various DIY build management sites.
Leave a Reply