
Planning a Tiny Home Music Studio in Canada (2026): Soundproofing, Design & ADU Basics
Estimated reading time: 12 minutes
Key Takeaways
- Set measurable targets: pick STC and RT60 goals before you design.
- Balance footprint, weight, and climate: Canadian cold-weather details (insulation, vapour control, HVAC) matter as much as acoustic detail.
- Soundproofing ≠ treatment: mass, decoupling, damping, and sealing stop noise; absorption and diffusion fix the room.
- ADU vs integrated tiny studio: choose based on mobility, servicing needs, and rental aspirations.
- Practical paths: resilient channel + Green Glue is a compact, high-value approach when full double-stud walls aren’t feasible.
Table of contents
- Why build a tiny home studio or musician ADU?
- Planning & goals: acoustic and use-case requirements
- Soundproofing fundamentals for small spaces
- Music space design and layout strategies
- Acoustic treatment specifics
- HVAC, electrical, ventilation & climate control
- Musician ADU-specific considerations
- Case studies & inspiration
- Budgeting, timeline, and hiring pros vs DIY
- Portable & hybrid solutions
- Build checklist & resources
- FAQ
Why build a tiny home studio or musician ADU?
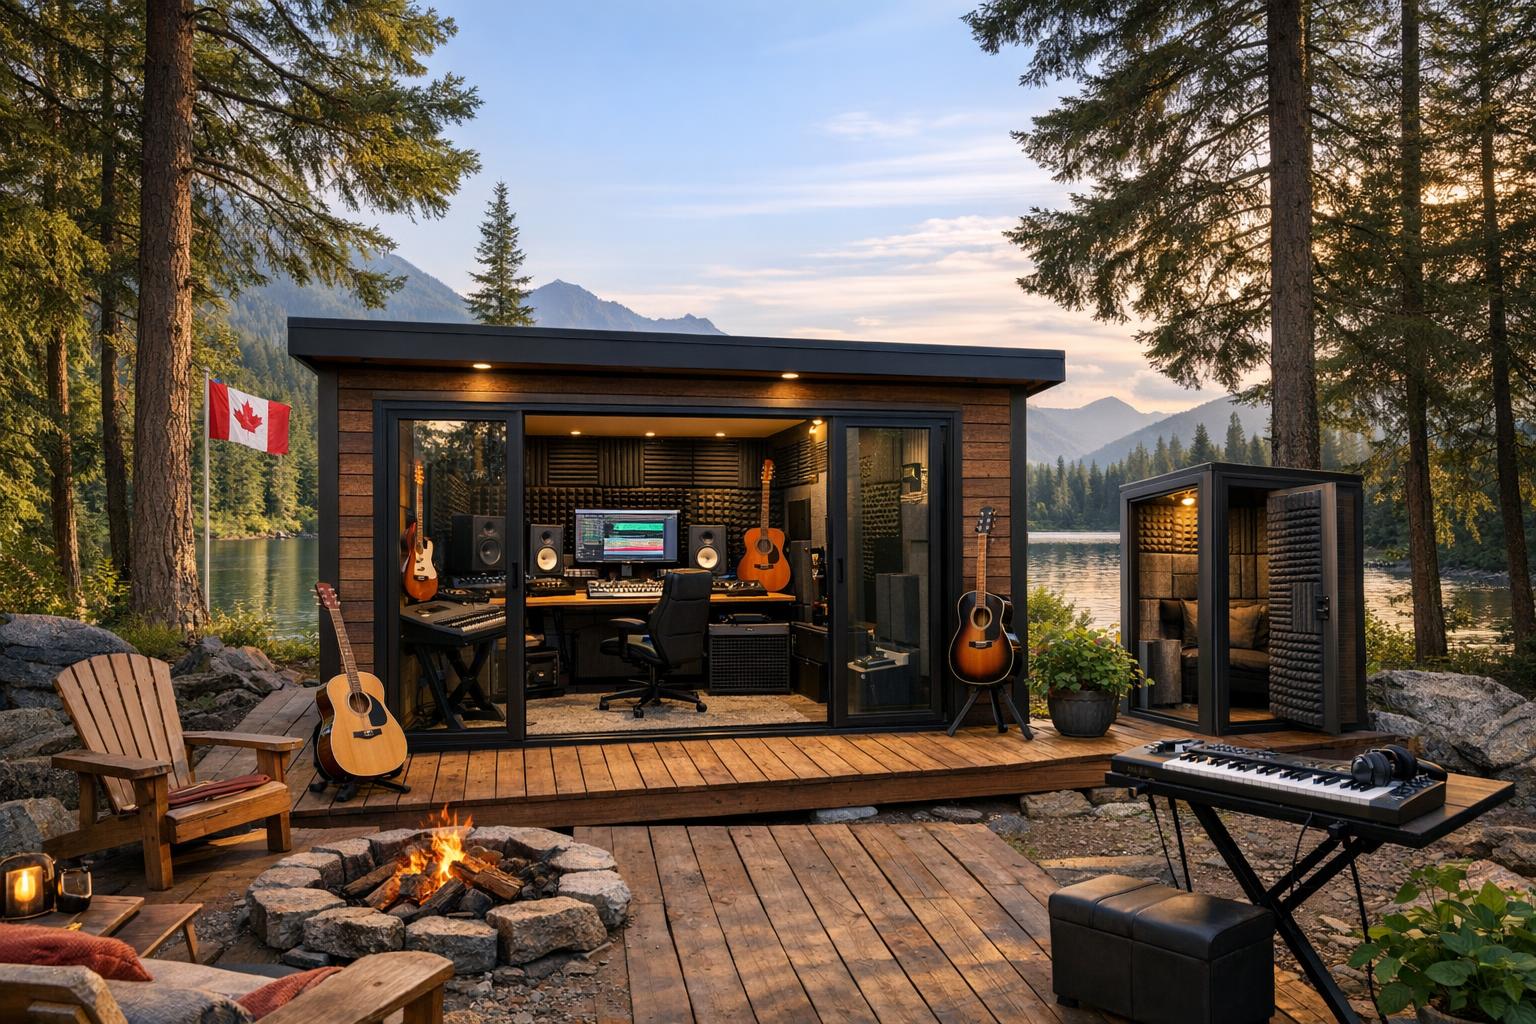
A dedicated tiny home music studio gives you focused sound control without the scale and disruption of a full home renovation. It can be a mobile creative hub, a backyard rental asset, or an integrated living space designed around music workflow. In short: small footprint, big control—if you plan for acoustic and climate realities.
Key benefits (with real-world ranges)
- Cost savings vs major renos: typical tiny builds land around $50K–$150K, with prefab starting near ~$80/sq ft before studio upgrades.
- Mobility & resale: towable or wheel-away options let you move your studio with you; some designs keep resale value high.
- Creative isolation: predictable quiet hours and fewer interruptions for serious sessions.
- Potential income: backyard musician ADUs can rent for $1,500–$3,000/month depending on local market and rules.
- Canada-specific durability: design to local cold-weather targets (examples: R-40 walls, R-20 floors—verify with local code).
Design inspiration: the compact Campos Music Shed in Vancouver shows small can still feel serious and beautiful.
Planning & goals: defining acoustic and use-case requirements
Decide what the room must do before you order materials. Your use case determines measurable targets for both soundproofing (STC) and in-room behaviour (RT60).
Use cases and matching acoustic targets
- Solo recording (vocals/guitar): RT60: 0.2–0.4s; STC: ~45–55.
- Band rehearsal / drums: STC: ~55–65; RT60: aim under ~0.35s; heavy bass trapping needed.
- Mixing & mastering: RT60: 0.2–0.3s, smooth across frequencies; noise floor: under ~30 dBA if possible.
- Live streaming / teaching: prioritize comfort, low echo, and stable internet.
The main acoustic metrics (plain language)
- STC (Sound Transmission Class): how well a wall/door blocks sound; higher = better blocking.
- RT60: time for sound to decay 60 dB; lower RT60 = less echo.
- NRC: material absorption; useful when sizing absorber coverage.
Useful planning tools: the GIK Acoustics room visualizer can help you experiment with RT60 and panel placement.
Pre-design checklist (do this before drawings)
- Measure inside dimensions and ceiling height; aim for non-cubic ratios (target ~1 : 1.6 : 2.5).
- Plan orientation of listening position (along long dimension; avoid centring on short wall).
- Do a neighbour proximity test (24‑hour ambient noise logging—aim for external bleed below ~40 dBA as a rough target).
- Electrical: plan for a 100A panel baseline and dedicated 20A circuits for audio/computers.
- Ventilation/heat: choose quiet ventilation and consider mini-splits sized for tiny volumes.
Soundproofing fundamentals for small spaces
Soundproofing blocks sound from getting out; acoustic treatment shapes how the room sounds inside. In tiny rooms, shortcuts amplify problems—especially at low frequencies.
The five core principles
- Mass: dense layers (5/8″ drywall, MLV) block more sound.
- Decoupling: double-stud, staggered studs, or resilient channel break vibration paths.
- Damping: use Green Glue between layers to dissipate energy.
- Absorption: mineral wool in cavities and thick panels/bass traps for low-freq control.
- Sealing: acoustic caulk, door sweeps, sealed boxes—air gaps are sound gaps.
Compact wall assembly (aiming for ~55–60 STC)
Common compact path:
- Frame 2×4 and insulate with mineral wool.
- Install resilient channel on studio side.
- Hang 5/8″ drywall, apply Green Glue, add second 5/8″ layer; stagger seams.
- Seal thoroughly (perimeter, boxes, vents, door details).
Note: towable tiny units need weight-conscious choices—consider MLV + one extra drywall layer instead of heavy double shells.
Testing & verification
- Quick checks with phone dBA apps for directional comparisons.
- Formal STC claims require ASTM E90 / ISO 140-3 style testing.
Music space design and layout strategies
Design is workflow. In tiny spaces, every placement decision affects acoustics and usability.
Priorities
- Listening/monitor position
- Instrument zones
- Storage
- Multi-use conversion
Room examples
- 8′ x 12′ — tight for vocals and editing.
- 10′ x 14′ — workable for mixing + one performer.
- 12′ x 16′ — tiny-but-serious workspace (example layout below).
12′ x 16′ layout (text plan): entrance on short end; desk floating along long axis; listening position ~38% of room length from rear; monitors form an equilateral triangle; vocal alcove with curtain + portable absorbers; amp corner with MLV behind; drum area with rollable gobos.
Ergonomics & finishes
- Desk height: 720–760 mm.
- Use isolation monitor stands, cable raceways, and fabric-wrapped panels as clean finishes.
Acoustic treatment specifics (absorbers, bass traps, diffusion)
Treatment improves clarity inside the room—bass traps, broadband panels, ceiling clouds, and rear-wall diffusion form the toolset.
Placement guide
- Find first reflections with the mirror trick; place 2″–4″ panels at those points.
- Add 4″–6″ bass traps in corners (wall-wall and wall-ceiling).
- Mount a ceiling cloud above the listening position.
- Consider diffusion on the rear wall to avoid an overly dead feel.
DIY panel recipe (2′ x 4′)
- Frame, insert 2″–4″ Rockwool, wrap with acoustically transparent fabric, and mount with Z-clips. Cost: CAD $50–100 per panel.
Presets (copy-ready)
- Singer-songwriter: 6–8 panels, 1 ceiling cloud, 2 corner traps.
- Solo producer: 8–12 panels, 1–2 clouds, multiple corner traps (target RT60 0.2–0.3s).
- Drummer: full corner bass traps + portable gobos.
HVAC, electrical, ventilation & climate control for Canadian tiny homes
Comfort is a sound issue. Quiet, heat-efficient, and sealed mechanicals keep windows closed and neighbours happy.
Ventilation & airflow
- Targets: 30–60 CFM for one-person studio; 80–150 CFM for rehearsal.
- Use inline centrifugal fans, silencers, decoupled ducting, and vibration isolators.
Heating & cold-weather tips
- Mini-split heat pumps are common for tiny spaces (CAD $3,000–$6,000 installed typical).
- Seal line-set penetrations and mount outdoor units on vibration pads.
Electrical basics
- Plan a dedicated 20A circuit for gear; 100A service is a practical baseline for ADUs.
- Use balanced cables, star grounding, and ferrite cores for RFI control.
Commissioning target: background noise with ventilation on under ~35 dBA for many mixing rooms.
Musician ADU-specific considerations
An ADU is treated as a building—expect more permitting and inspections than a movable tiny unit.
Zoning & permitting (simple checklist)
- Site plan, e-permit application, setbacks and lot coverage confirmation, servicing proof, and inspection schedule.
Check provincial/municipal rules and use local guidance such as the Canadian ADU Regulations for a starting point.
Noise bylaws & insurance
- Local daytime limits vary—use STC targets to design assemblies that reduce neighbour complaints.
- Inform insurers if you intend to rent; premiums can change (+10–20% is a planning assumption).
Case studies & inspiration: Canadian tiny homes with music spaces
1) Campos Music Shed, Vancouver
Compact, timber-clad, and design-forward—see the Campos Music Shed for an example of high-quality small-form creative space.
2) Ontario backyard musician ADU (representative)
- ~430 sq ft, double-stud walls, MLV in key layers, sealed doors, mini-split HVAC; rough cost ~CAD $120K.
3) Prairies 12×16 tiny home studio
- 12′ x 16′ room, target STC ~55 and RT60 ~0.25–0.35s; mid-tier build ~CAD $50K (shell + core acoustic work).
Budgeting, timeline, and hiring pros vs DIY
Ballpark costs (Canada)
- Low (DIY retrofit): CAD $10K–$30K — door sealing, MLV, DIY panels.
- Medium (prefab / semi-pro): CAD $50K–$100K — Green Glue, mini-split, pro electrical.
- High (full musician ADU): CAD $120K–$200K+ — permitted ADU, full shell, bespoke isolation.
Sample timeline
- Planning & permits: 2–8 weeks.
- Shell: 4–10 weeks.
- Soundproofing & mechanicals: 2–6 weeks.
- Treatment & commissioning: 1–3 weeks. Total: ~3–6 months typical.
Who to hire
- Acoustic consultant for STC/RT60 targets.
- Contractor experienced with tiny homes.
- Licensed electrician & HVAC tech for compliance.
Portable & hybrid solutions (renters or mobile tiny homes)
If you can’t change the shell, focus on targeted moves that give the most benefit:
- MLV blankets on rails, portable absorber panels, mic shields, and close-miking techniques.
- Portable vocal booths and gobos for temporary drum or loud sessions.
- Software room correction helps monitoring but doesn’t replace physical treatment.
Build checklist & resources (quick reference)
Printable build checklist
- Confirm use case and set STC/RT60 targets.
- Check municipal ADU rules and permit needs.
- Site noise survey; plan power and internet.
- Finalize wall/floor/ceiling assemblies and order materials.
- Sequence installers and pre-notify neighbours.
- Commission STC/RT60 tests if you will publicly claim numbers.
Materials quick-list (Canada examples)
- Rockwool Safe’n’Sound — cavity and panel filling.
- MLV — barrier layer where weight allows.
- Green Glue — damping compound between drywall layers.
- 5/8″ fire-rated drywall and resilient channel.
Further reading and resources (start here):
- Tiny Home Living Guide — broader Canadian tiny-home context.
- Eco-Friendly Building Materials in Canada — sourcing & alternatives.
- ADU Cost Build Canada 2025 — budgeting & regional context.
- TalkBass thread — practitioner tips and community Q&A.
- YouTube reference — practical demonstration and interviews on tiny studios.
FAQ
How much does effective soundproofing cost for a tiny home studio?
Often $5–$20/sq ft depending on assembly and which weak points you fix. Example: 200 sq ft at ~CAD $15K can approach STC 55–60 if well detailed. See practitioner videos for demonstrations (YouTube).
Can I record drums in a tiny home?
Yes, but plan for STC 55+ and aggressive bass control: decoupled walls, sealed doors/vents, corner bass traps, and portable gobos. Community experience is useful (TalkBass).
Do I need a permit to build an ADU in Ontario/BC/Alberta?
Generally yes for a serviced ADU. Rules are municipal—check local portals and guidance such as the Canadian ADU Regulations.
What RT60 should I target?
Most tiny home studio rooms aim 0.2–0.4s. Mixing favours 0.2–0.3s; vocals and rehearsals can be slightly higher. Use room tools like the room visualizer to experiment.
Best insulation for Canadian winters in a studio build?
Mineral wool (e.g., Rockwool) is common for acoustic + thermal performance. Design a full cold-climate wall (continuous insulation + vapour strategy) and confirm local requirements.
Is acoustic treatment enough if I can’t rebuild for soundproofing?
Treatment improves in-room sound but won’t stop noise escaping. If neighbours are the issue, prioritise sealing doors, vents, and any flanking paths first.
Further ADU & permitting links: see Ontario guidance at Ontario ADU Zoning and broader permitting pages on the Tiny Home Living Guide.
Conclusion
Design your tiny home music studio around measurable goals (STC, RT60), match soundproofing assemblies to footprint and weight limits, and craft the layout for real workflow—not just gear. If you build a permitted musician ADU, start local permit research early and plan HVAC/electrical to suit Canadian winters. For inspiration, revisit the Campos Music Shed and the Canadian tiny-home resources linked above.
Leave a Reply